Creating Materials & Textures
Unity allows you to create and apply materials to 3D objects in your project.
To demonstrate, here’s a 3D object
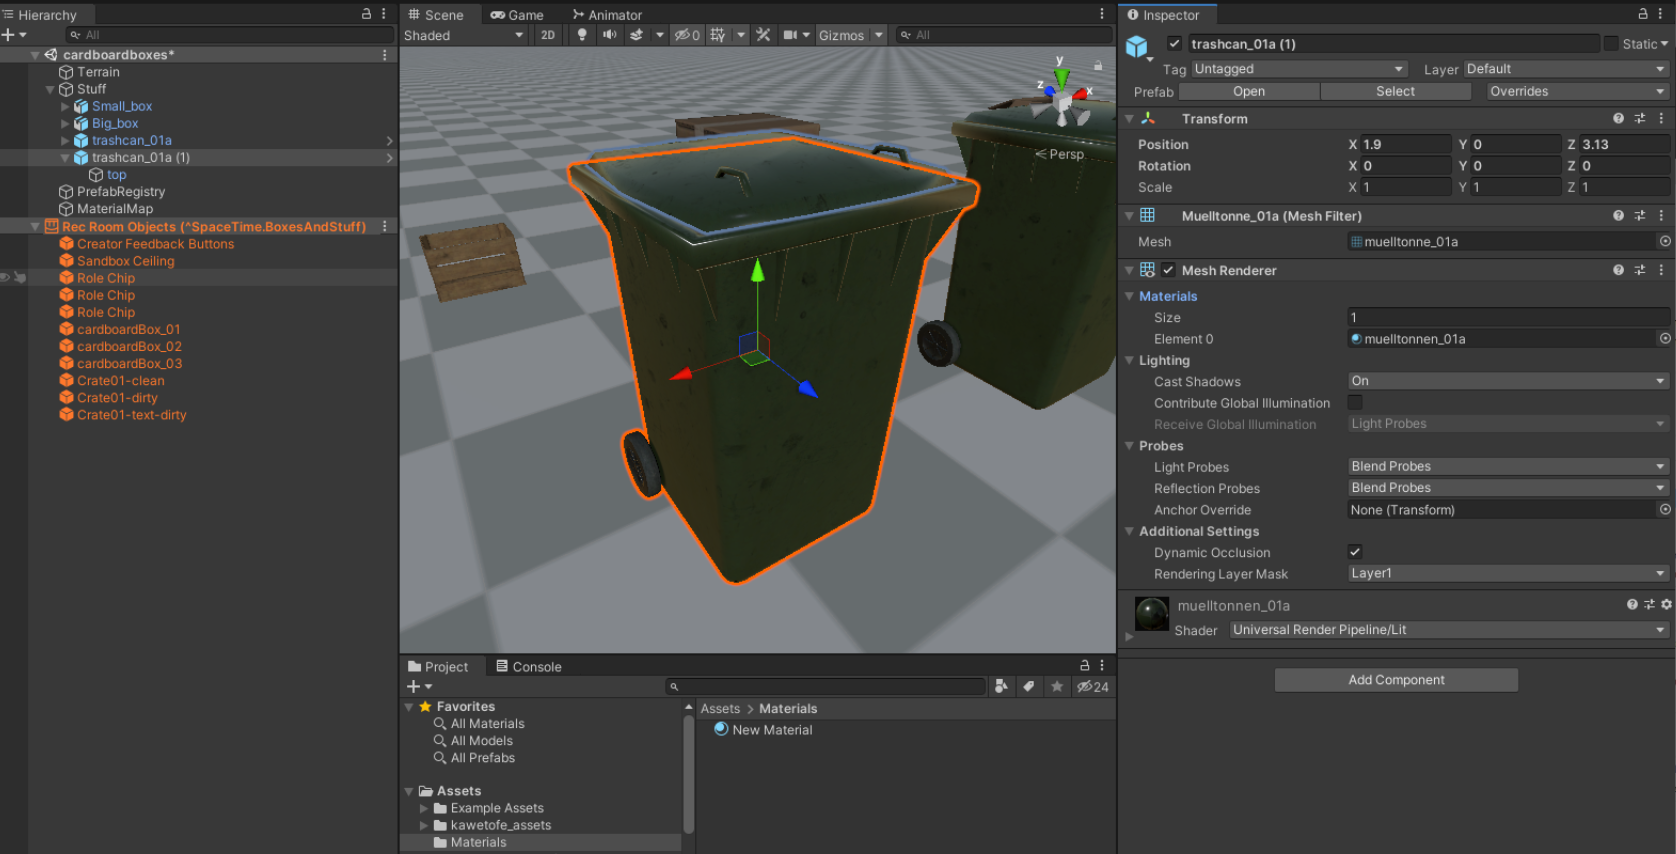
- This garbage can in my Rec Room Studio scene is pretty dingy looking. Let’s spruce it up.
- By selecting the garbage can in the scene Hierarchy, I’ll change the material on this particular instance of the garbage can. If I do this from the prefab view (right click on the prefab and select “Open Prefab Asset” or the right arrow in the Hierarchy) and save it, I’ll change all the garbage cans in my project.
Keep things tidy with folders
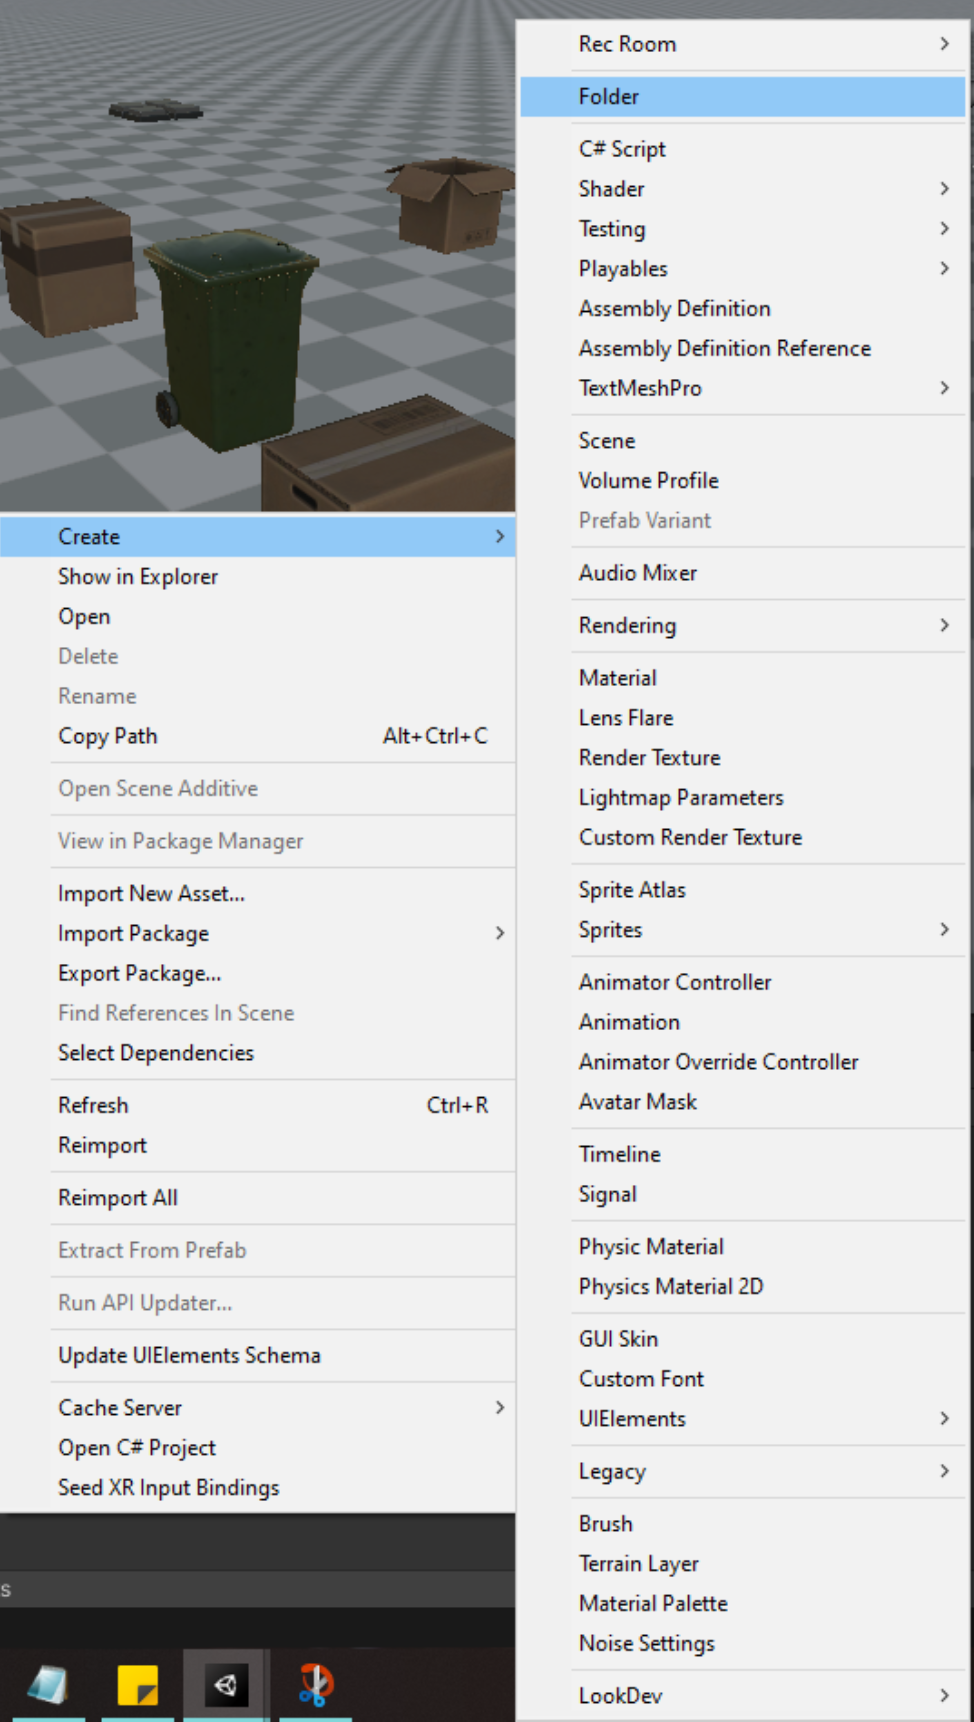
- With the Assets folder selected in the Project window, right click and choose Create>Folder. Name the folder “Materials”
- Make another new folder in Assets named “Textures” (since our new Material will need a texture)
- Make another new folder in Assets named “Textures” (since our new Material will need a texture)
Create a new Material
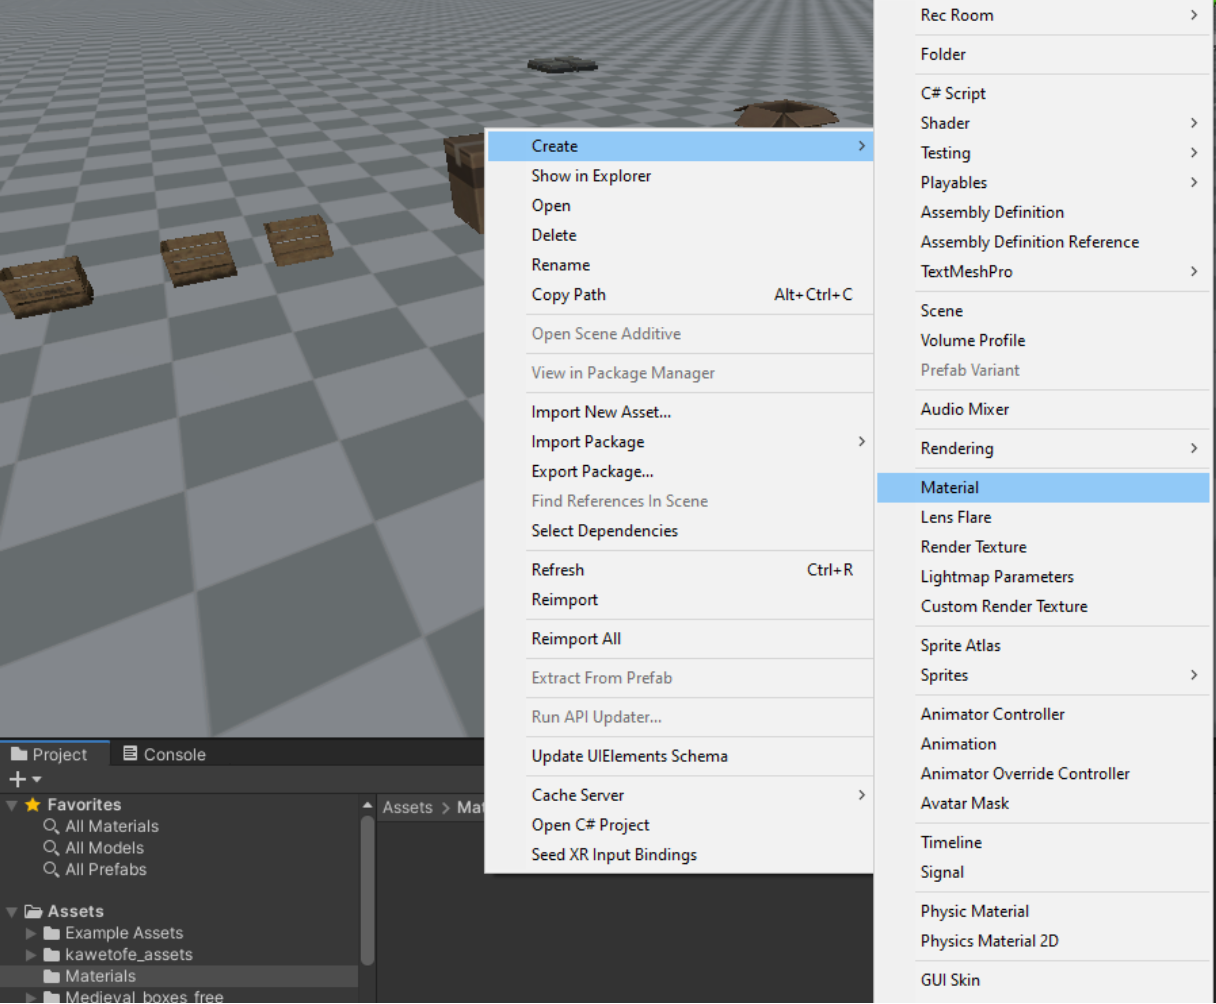
- While in the Materials folder, right-click and select Create>Material
- Rename your material by clicking on it in the Project window when it’s already selected, or right-click and choose Rename
caution
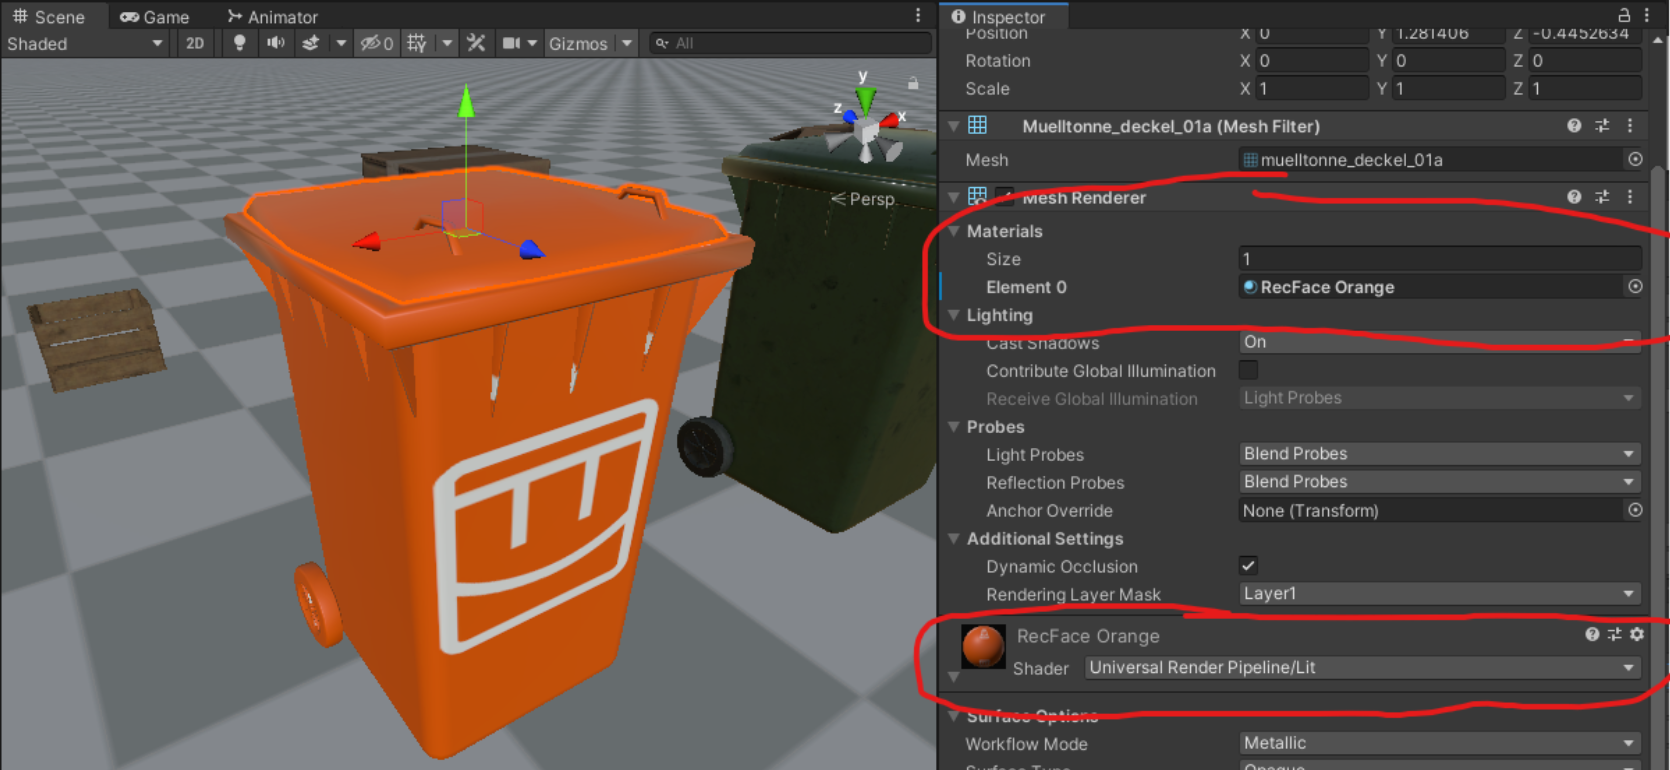
Double-check that your new material is set to use the Rec Room Studio:Lit shader in the Inspector

Create a new Texture
- In Photoshop or your graphics program of choice, make a square png or psd image.
tip
128x128, 256x256, 512x512, 1024x1024, and 2048x2048 are good sizes for your texture. And because we don’t own gold-plated GPUs, sizes 256 or 512 are recommended. the bigger your texture files, the longer it’ll take for your room to build and load
- Save your texture image into the Textures folder you made
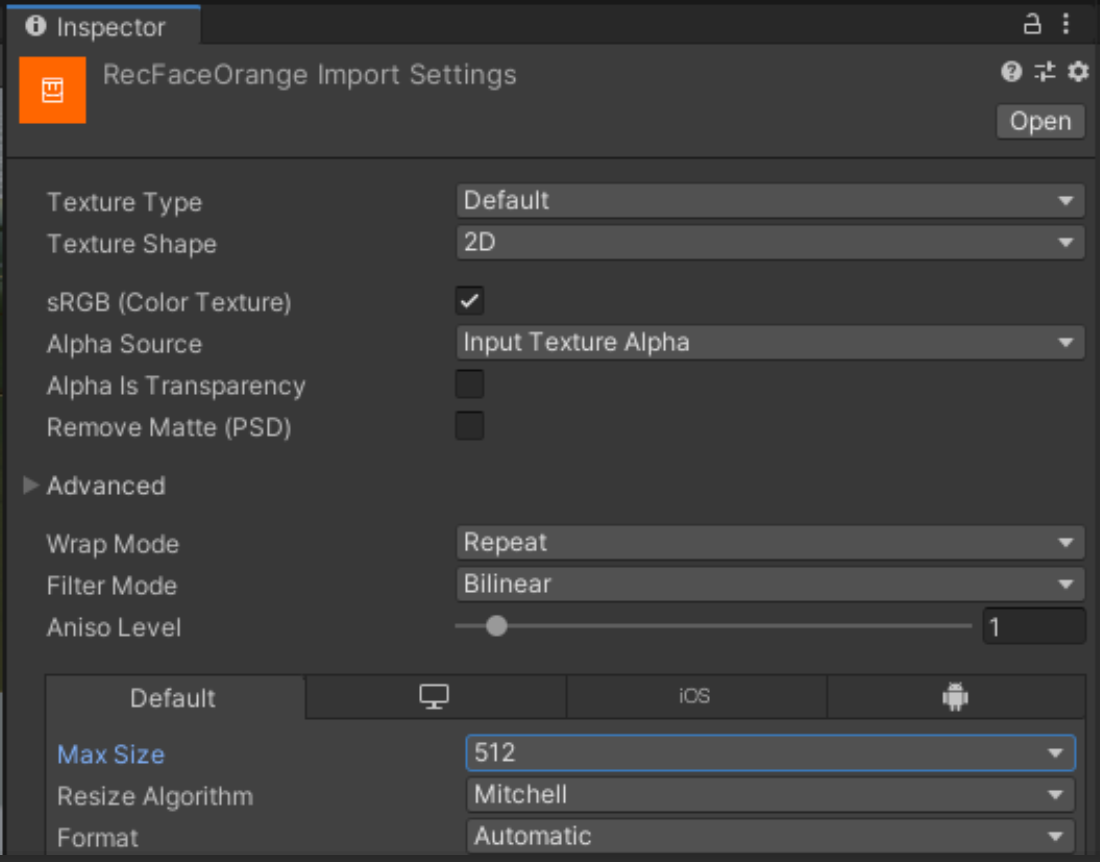
Import the Texture
- In the Project window in Unity, select the texture file you just made
- In the Inspector, set the Max Size to your image dimension, and select Apply
Add the Texture to your Material
- Select the new material you made in the Project window, then click and drag the texture you made from the Project window to the Inspector window onto the “Base Map” Surface Input setting
Apply the Material to your 3D object
- Select your 3D object in the Hierarchy
note
Open Prefab Asset if you want to change all of the prefab occurrences
- Click and drag your new Material file from the Project window onto the Materials Element setting in the Inspector
caution
Make sure the shader is set to Rec Room Studio: Lit
- Muck about with the offset and tile settings until the material is sitting on the object where you want it. Then admire your shiny new look.